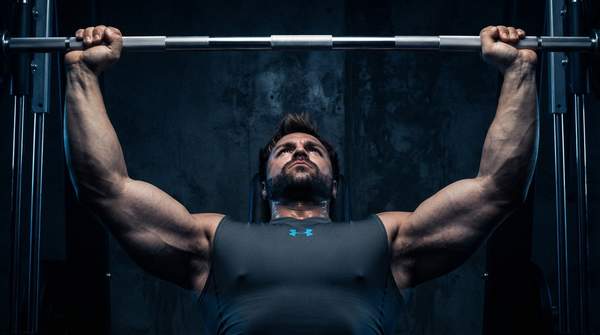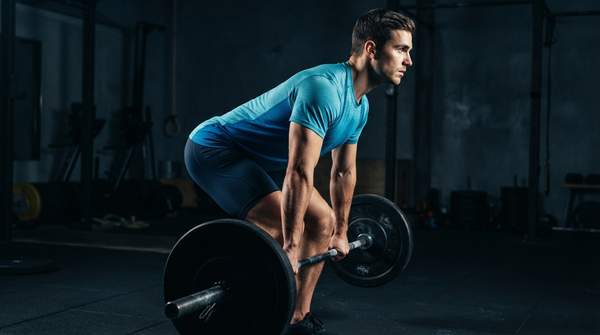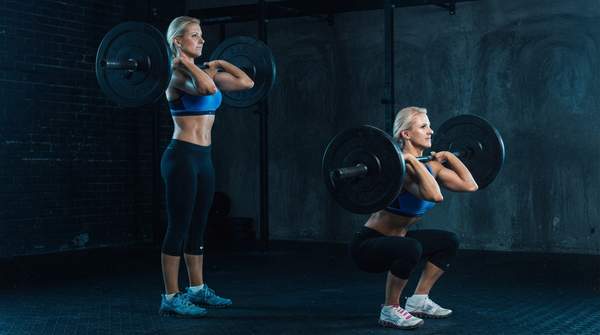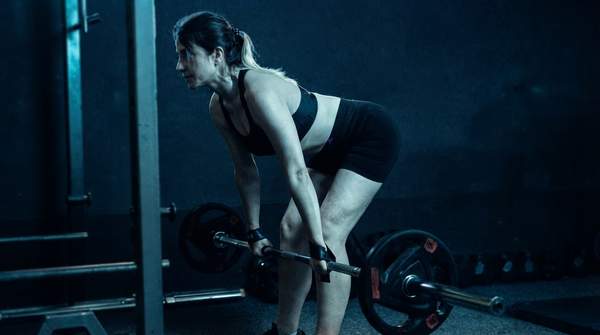
When you squat or deadlift a heavy weight, the most important piece of supportive equipment you own is not in your gym bag. It is inside your torso. Coordinated contraction of your diaphragm, abdominal wall, and pelvic floor raises the pressure inside your abdominal cavity, turning your midsection into a rigid cylinder that resists spinal collapse. Coaches describe bracing as creating intra-abdominal pressure (IAP), a physiological mechanism that fitness educator Ryan Anderson describes as directly tied to safety, performance, and maximal force production at Arlington's Method Fitness.
Yet many lifters confuse a proper brace with a simple breath-hold. The two are not the same, and the difference matters both for how much pressure you can generate and for what that pressure actually does to your spine. Here is how the system works, how to use it, and where the biomechanics remain genuinely contested.
The Core Canister: Your Body's Natural Weight Belt
Physio-Pedia's clinical anatomy frames the trunk as a box structure: the abdominal muscles at the front and sides, the paraspinal and gluteal muscles at the back, the diaphragm at the roof, and the pelvic floor and hip girdle muscles as the floor. Think of it as a sealed canister. When every wall of that canister contracts at once, pressure inside rises, and the structure stiffens into a rigid cylinder around the spine.
The mechanism is simple physics. As Method Fitness explains, IAP is created when the diaphragm contracts downward, pressing against the abdominal organs, while the abdominal and spinal muscles create resistance. Because the fluid and tissue inside the cavity are essentially incompressible, something has to give somewhere—and if every wall of the canister holds, nothing does. The torso becomes pressurized and stiff.
Two details of that model deserve emphasis. First, the diaphragm is not just a breathing muscle here; it is the piston that drives the pressure. Second, Physio-Pedia notes that the abdominal muscles can only increase pressure during spinal movement if the pelvic floor musculature co-contracts. A sealed container needs a sealed bottom. Bracing without the pelvic floor is like squeezing a squeeze bottle with the cap off.
The Core Canister: An Integrated Stability System
The table below shows how each component of the canister contributes to pressurizing and stabilizing the torso, and what you should feel during a correct brace. Use it as a mental checklist before heavy sets: each structure has a distinct job, and skipping any one of them leaks pressure.
| Canister component | Structural role | Role in IAP generation | What you should feel |
|---|---|---|---|
| Diaphragm | Roof of the core box | Contracts downward, pushing on the abdominal organs to raise cavity pressure | A deep, 360-degree breath that expands the lower ribs and belly, not the upper chest |
| Abdominals (front and sides) | Anterior and lateral walls | Cinch inward, containing the pressure; their activation also adds trunk stiffness | Tightness all the way around the midsection, as if bracing for a punch |
| Pelvic floor | Floor of the core box | Resists the downward push of the diaphragm; required for the abdominals to raise pressure during spinal movement | A gentle lifting-in sensation below the pelvis, like stopping urine mid-flow |
| Paraspinal and gluteal muscles | Posterior wall | Work with the other core muscles to form the rigid cylinder around the spine | Firmness along the lower back, holding the back wall of the canister shut |
The takeaway from the model: effective bracing is a 360-degree, coordinated effort to manage internal pressure, not a crunch or a flexed six-pack. A visible six-pack can coexist with a badly pressurized canister, because the rectus abdominis is not what seals any wall.
Beyond the Valsalva: Understanding IAP for Spinal Stability
Now the harder question: what does that pressure actually do to your spine? One classic theory, summarized in a PMC-indexed review on abdominal wall function, holds that IAP produces an extension moment by acting upward on the diaphragm and downward on the pelvic floor, helping unload the spine during lifting efforts. This is the logic behind recommending lifting belts: increase IAP, unload the spine.
But the biomechanical literature complicates that story in two ways. First, the same review notes that any extension moment from IAP must be offset against the flexion moment generated by the activation of the abdominal musculature itself—and that while the resultant was long thought to be a net extension moment, following Morris and colleagues in 1961, the biomechanical basis for that assumption was questioned by McGill and Norman in 1987. Second, research on static lifting tasks published at PMC reports that experimentally, IAP increases during Valsalva maneuvers coincide with increased intradiscal pressure, and that the co-contraction of abdominal muscles alongside IAP produces a flexor moment large enough to offset or even exceed the IAP-generated extensor moment.
Those findings do not mean IAP is useless—they mean its clearest benefit is stiffness and stability, not unloading. As the review on abdominal wall function puts it, the stabilizing effect of activating the abdominal wall is a consequence of the stiffness of activated muscle, a view attributed to Bergmark's 1989 work. The same research on static lifting tasks observes that the unloading question is difficult to investigate during a Valsalva or maximal exertion, because the concurrent abdominal co-activity and high IAP levels likely offset one another.
For a lifter, that reframes the goal. A brace is not primarily a decompression device; it is a stiffness device. Pressurize the canister so your spine cannot buckle or round under load, and manage the breath so pressure stays controlled rather than spiking into a maximal strain.
Step-by-Step: Mastering the Core Brace for Heavy Lifts
This sequence is intended for static, heavy lifts such as squats and deadlifts, performed by healthy individuals. It is not medical advice for treating back pain. Pain Free Health Clinic, whose physician-authored guide outlines these cues, also recommends building underlying strength in the transverse abdominis, obliques, and pelvic floor through exercises like planks, bird-dogs, dead-bugs, and bridges, and progressing loads gradually from lighter weights.
- Take a diaphragmatic breath. Before initiating the descent or pull, inhale deep into your abdomen, expanding the lower ribs and belly 360 degrees. This is the canister filling—do not breathe high into the chest.
- Contract the abdominal wall 360 degrees. On the breath you just took, tighten everything around your midsection at once—front, sides, and lower back. The clinic's cue is to contract as if you are preparing to take a punch.
- Engage the pelvic floor. Add a light lifting-in contraction of the muscles under the pelvis. This seals the bottom of the canister so the abdominal contraction translates into pressure rather than downward strain.
- Execute, then exhale under control. Hold the pressurized position through the hardest part of the lift—the squat ascent or the deadlift pull off the floor—and exhale in a controlled, pressurized hiss as you finish. Never let the air explode out; release it against resistance so the canister stays stiff.
Note what this sequence deliberately includes: air, and a path for it to leave. That is what separates it from a pure Valsalva.
Controlled Bracing vs. the Valsalva Maneuver
A Valsalva maneuver is a maximal breath-hold against a closed glottis, and it does generate the highest pressures. But the research reviewed above links Valsalva efforts to increased intradiscal pressure, and the same maximal-exertion condition is exactly the one researchers say makes the unloading question hard to resolve, because high IAP and high abdominal co-contraction occur together and offset one another.
A controlled brace keeps most of the stiffness while tempering the extremes. You hold pressure without clamping the glottis shut with maximum force, and you exhale through the sticking point rather than riding a full breath-hold to lockout. Pain Free Health Clinic describes the brace as contracting the abdominals as if preparing for a punch while maintaining normal breathing—a cue worth practicing even at submaximal loads, because it teaches you that pressure management and breathing are not mutually exclusive.
That said, a momentary brace-and-hold at the top of a heavy inhalation is not automatically dangerous, and the research does not support calling the technique unsafe across the board. What the evidence does support is this: stiffness, not maximal pressure, is what stabilizes, and maximal breath-holding is where the unresolved biomechanical questions concentrate.
Common Mistakes and How to Avoid Them
Mistake one: sucking in. Drawing the belly inward hollows the front of the canister and abandons the abdominal wall's role as a pressure-containing cylinder. Instead, keep the belly firm and full. If you look thinner when you brace, you did it wrong.
Mistake two: bracing only the front. A punch-anticipation cue applied only to the rectus abdominis leaves the obliques, lower back, and pelvic floor quiet. Scan the full circle before each heavy rep: ribs, flanks, lower back, pelvic floor.
Mistake three: chest breathing. A high, shallow breath pressurizes less of the cavity and recruits the diaphragm poorly as a piston. Practice belly-and-ribcage breathing on its own until it is automatic under load.
Mistake four: ignoring the pelvic floor. Per the clinical anatomy, abdominal effort alone cannot raise pressure during spinal movement without pelvic floor co-contraction. Skip it and you are squeezing an open bottle.
Mistake five: maximal breath-holds on every rep. Reserve the hardest holds for your heaviest work; use the breathing-plus-bracing pattern on working sets so pressure stays managed rather than spiked.
Achieving Spinal Stability: Your Bracing Checklist
To improve spinal stability and safety during heavy lifts, consistently apply a coordinated core bracing technique that integrates diaphragmatic breathing with 360-degree abdominal and pelvic floor engagement, distinct from a pure Valsalva maneuver. That is the decision in front of you, and it is a trainable skill, not a talent.
Run the four-step sequence—diaphragmatic breath, 360-degree wall contraction, pelvic floor seal, controlled exhalation—on every heavy squat and deadlift set, starting with lighter loads and progressing gradually as Pain Free Health Clinic advises. The measurable indicator of progress is improved lifting form and perceived stability during heavy lifts, with a conscious awareness of coordinated core muscle activation: you should be able to feel, and later articulate, which walls of the canister are engaged before the bar bends. If a lift suddenly feels wobbly, the checklist tells you where the pressure leaked.
Sources
- How Intra-Abdominal Pressure Improves Strength & Muscle Growth — Method Fitness
- PHYSIO PEDIA
- Intra-abdominal pressure and abdominal wall muscular function: spinal unloading mechanism - PMC
- Intra-Abdominal Pressure (IAP): What is it? How to engage the core to help stabilize the lumbar spine — Pain Free Health Clinic
- Role of intra-abdominal pressure in the unloading and stabilization of the human… — PMC